A Rust-Powered Starfield in the Browser with Macroquad + WASM, fun
AI can get you to a working result quickly. What it doesn’t replace is the value of understanding why something looks right, breaks, or feels good to tune.
I wanted a small Rust project where the mechanics stayed visible, and a browser-based starfield was a good fit: simple enough to build quickly, but visual enough to make the underlying math worth paying attention to.
The nice part is that this effect is mostly a handful of small ideas wired together correctly. We are not building a full engine here. We are just using Rust, a rendering loop, and some basic projection math to create a convincing sense of forward motion.
This walkthrough assumes you're comfortable reading basic Rust, but not necessarily familiar with Macroquad, WASM, or graphics code.
Setting Up the Machine
Before we get to the pixels, we need the right tools in the garage. For this project, we're using Macroquad's own web loader path, which keeps the setup simple: compile to wasm32-unknown-unknown, drop the output into a small web/ folder, and serve it like static files.
1. Create the Project
If you do not already have Rust installed, start with rustup from rustup.rs. Once that is in place, create a new Rust binary project and move into the directory:
cargo new starfield --bin
cd starfield

# Install the WASM target
rustup target add wasm32-unknown-unknown

# Optional: install a simple static server for local testing
cargo install basic-http-server
2. The Blueprint (Cargo.toml)
We only need a few parts to get this engine running. Macroquad handles the graphics, and we’ll use the rand crate for our star distribution.
I landed on this exact rand config after a failed browser build. The small_rng feature is enough for this project, and disabling rand's default features avoids pulling in browser glue that does not match Macroquad's plain HTML5 loader path.
[dependencies]
macroquad = "0.4"
rand = { version = "0.8", default-features = false, features = ["small_rng"] }
3. The Glue (web/index.html)
Macroquad's browser path expects a canvas and a JavaScript loader. Create a web/ directory, and inside it add an index.html:
<!DOCTYPE html>
<html lang="en">
<head>
    <meta charset="utf-8">
    <title>Rust Starfield</title>
    <style>
        html, body { margin: 0; padding: 0; overflow: hidden; background: black; height: 100%; width: 100%; }
        canvas { display: block; width: 100vw; height: 100vh; }
    </style>
</head>
<body>
    <canvas id="glcanvas" tabindex="1"></canvas>
    <script src="mq_js_bundle.js"></script>
    <script>load("starfield.wasm");</script>
</body>
</html>
Note on mq_js_bundle.js: You need to place a copy of this loader in your web/ directory. You can usually find it in your local Cargo registry:
cp ~/.cargo/registry/src/index.crates.io-*/macroquad-*/js/mq_js_bundle.js web/Troubleshooting: If you cannot find it locally, you can download it directly from the Macroquad GitHub repository.
The Stack: Macroquad & WASM
There are powerful graphics options in Rust like Bevy, but for this, I wanted something direct.
I chose Macroquad. It’s a minimalist engine with a low-friction API. It doesn't hide the execution loop behind much abstraction; you write a loop and tell it exactly what to draw every frame. It feels less like building a factory and more like working directly on the engine block.
When you compile to WASM, you ship a self-contained binary. You still need that small JS shim (mq_js_bundle.js) to bridge to WebGL, but the setup stays lean.
The Anatomy of a Star
The "star" is our basic unit:
struct Star {
    x: f32,
    y: f32,
    z: f32,
    speed: f32,
    brightness: f32,
}- x, y: Coordinates in space.
- z: Depth. As
zdecreases, the star moves closer. - speed: Allows for different layers of motion.
- brightness: Adds visual depth.
To get moving, we populate a Vec with randomized starting positions:
fn init_stars(count: usize) -> Vec<Star> {
    let mut rng = SmallRng::seed_from_u64(0);

    (0..count)
        .map(|_| Star {
            x: rng.gen_range(-1.0..1.0),
            y: rng.gen_range(-1.0..1.0),
            z: rng.gen_range(1.0..32.0),
            speed: rng.gen_range(0.008..0.025),
            brightness: rng.gen_range(0.6..1.0),
        })
        .collect()
}
Two Rust details worth calling out here:
SmallRng::seed_from_u64(0)creates a deterministic field, which is great for debugging.(0..count).map(|_| ...)is the idiomatic way to say "repeat thiscounttimes." The|_|means we don't need the loop index.
One small visual tweak: If you keep x and y in too tight a range, stars bunch around the center. Widening the spawn volume (which we'll do in the "Polish" section) makes the field feel more believable.
The Infinite Loop (The Projection)
The "warp" effect relies on a simple 3D-to-2D projection: as z decreases, we scale coordinates to push stars further from the center.
for star in stars.iter_mut() {
    star.z -= star.speed; // Move forward

    if star.z < 0.2 { // Recycle star
        star.z = 32.0;
        star.x = rng.gen_range(-1.0..1.0);
        star.y = rng.gen_range(-1.0..1.0);
    }

    // Projection: dividing by 'z' is the key.
    let sx = (star.x / star.z) * screen_width() * 0.5 + center_x;
    let sy = (star.y / star.z) * screen_height() * 0.5 + center_y;

    draw_circle(sx, sy, size, color);
}
The Full Engine (Core Version)
Replace your src/main.rs with this. It sets up the window, initializes the field, and runs the loop.
use macroquad::prelude::*;
use ::rand::rngs::SmallRng;
use ::rand::{Rng, SeedableRng};
struct Star {
x: f32, y: f32, z: f32,
speed: f32,
brightness: f32,
}
const STAR_DEPTH: f32 = 32.0;
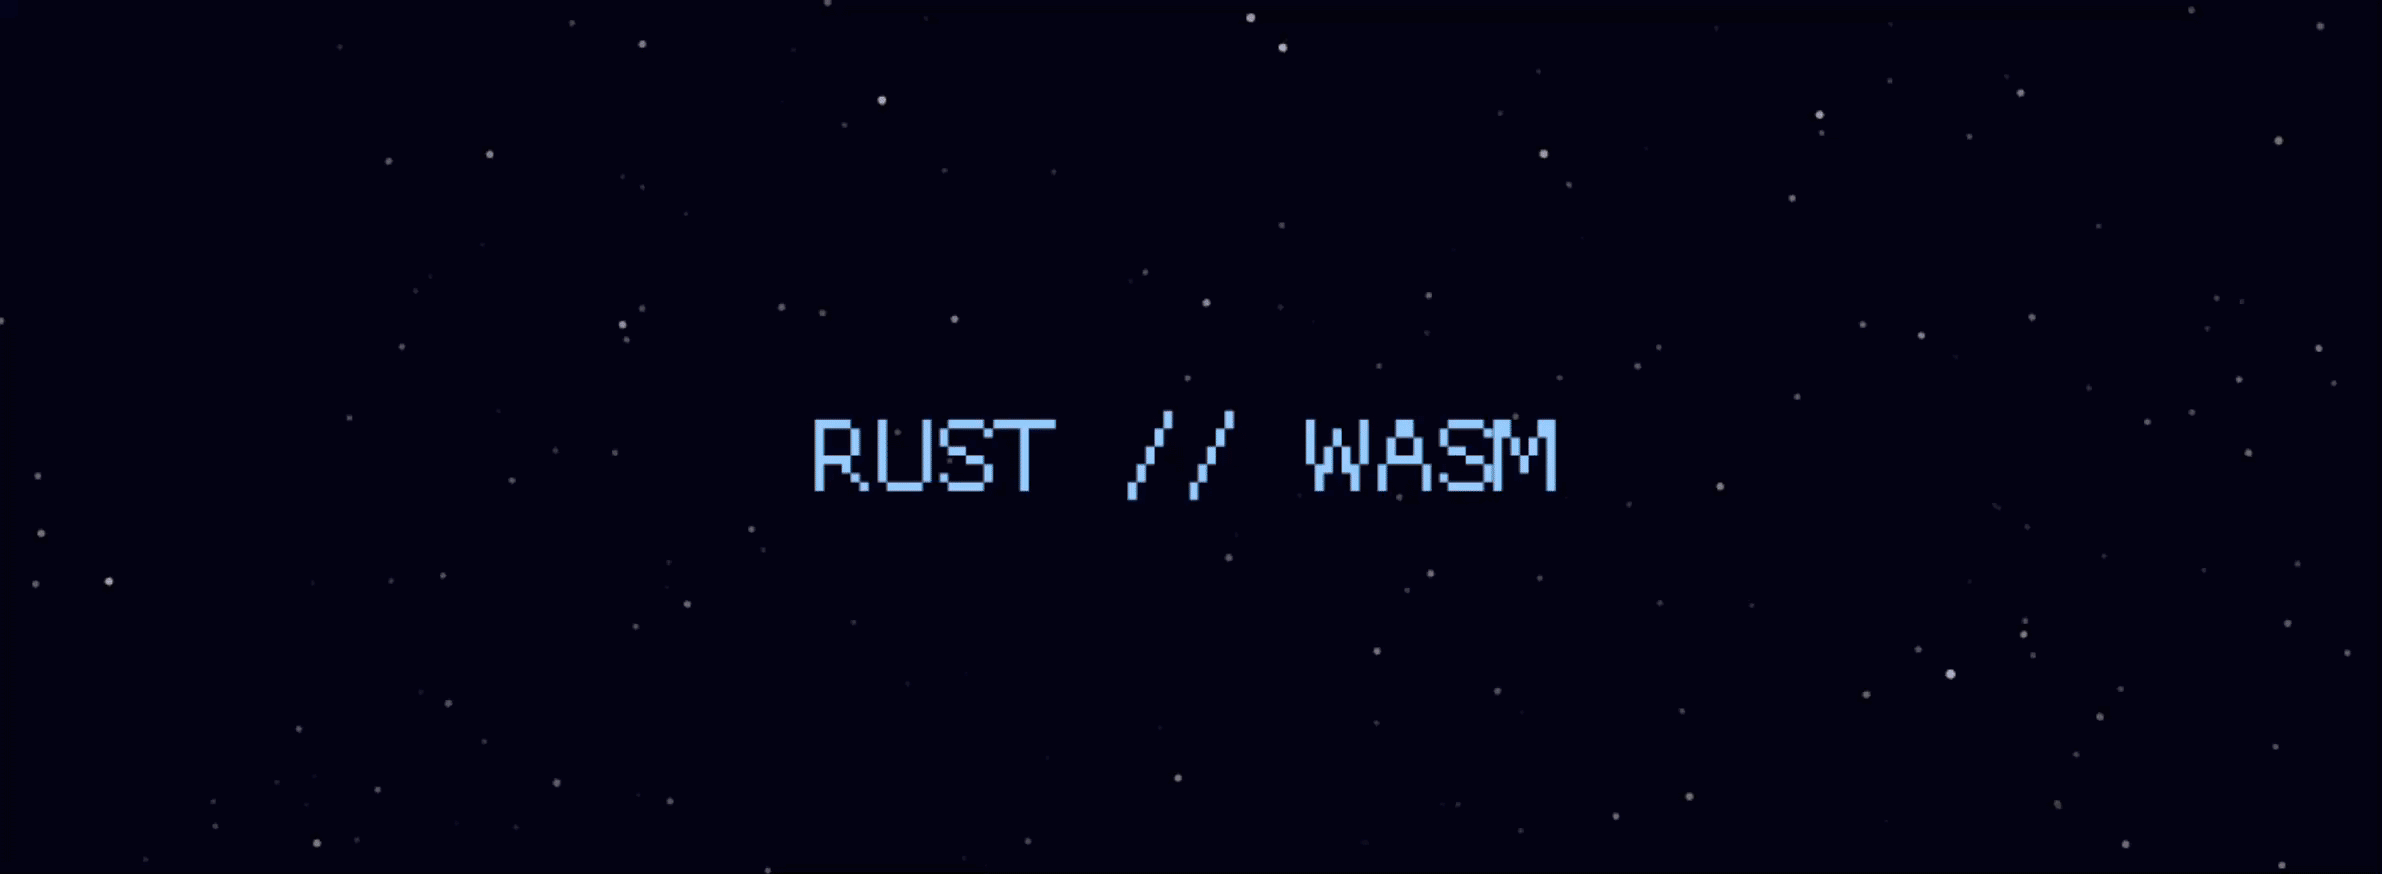
const TITLE_TEXT: &str = "RUST // WASM";
fn init_stars(count: usize) -> Vec<Star> {
let mut rng = SmallRng::seed_from_u64(0);
(0..count).map(|_| Star {
x: rng.gen_range(-1.0..1.0),
y: rng.gen_range(-1.0..1.0),
z: rng.gen_range(1.0..STAR_DEPTH),
speed: rng.gen_range(0.008..0.025),
brightness: rng.gen_range(0.6..1.0),
}).collect()
}
#[macroquad::main("Starfield")]
async fn main() {
let mut stars = init_stars(400);
let mut rng = SmallRng::seed_from_u64(macroquad::miniquad::date::now() as u64);
loop {
let screen_w = screen_width();
let screen_h = screen_height();
let center_x = screen_w * 0.5;
let center_y = screen_h * 0.5;
let time = get_time() as f32;
clear_background(Color::from_rgba(3, 4, 10, 255));
for star in stars.iter_mut() {
star.z -= star.speed;
if star.z < 0.2 {
star.z = STAR_DEPTH;
star.x = rng.gen_range(-1.0..1.0);
star.y = rng.gen_range(-1.0..1.0);
}
let sx = (star.x / star.z) * screen_w * 0.5 + center_x;
let sy = (star.y / star.z) * screen_h * 0.5 + center_y;
let depth_factor = 1.0 - (star.z / STAR_DEPTH);
let size = 1.0 + 2.0 * depth_factor;
let brightness = star.brightness * depth_factor;
draw_circle(sx, sy, size, Color::new(brightness, brightness, brightness, 1.0));
}
let pulse = 0.5 + 0.5 * (time * 2.0).sin();
let title_color = Color::new(0.5 + 0.5 * pulse, 0.8, 1.0, 1.0);
draw_text(TITLE_TEXT, 20.0, 40.0, 30.0, title_color);
next_frame().await;
}
}What's happening in main()?
screen_width()¢er_x: Recomputed every frame so it stays centered if you resize the browser.get_time(): Used for the pulsing title.clear_background(...): Every frame is drawn from scratch; we must clear the last one.0.5 + 0.5 * (time).sin(): Maps the sine wave (-1.0..1.0) to a usable color range (0.0..1.0).
Running the Engine
Build the WASM target (use --release for performance):
cargo build --target wasm32-unknown-unknown --release
cp target/wasm32-unknown-unknown/release/starfield.wasm web/starfield.wasm
Serve the web/ folder (Python, Node, or basic-http-server all work):
basic-http-server web
# OR: python3 -m http.server --directory web
Automation (build.sh)
To make iteration faster, wrap this in a script:
#!/usr/bin/env bash
set -euo pipefail
PORT=4000
cargo build --target wasm32-unknown-unknown --release
cp target/wasm32-unknown-unknown/release/starfield.wasm web/starfield.wasm

if lsof -i :"$PORT" >/dev/null 2>&1; then
    echo "Server running on $PORT. Refresh browser."
    exit 0
fi
basic-http-server web -a 127.0.0.1:"$PORT"
The Machine in Motion (The Polish)
The "Core" version works, but it feels like a diagnostic test. Let's make it a finished visual.
1. Tighten the Spawn Volume
Add const STAR_SPREAD: f32 = 20.0; at the top. Use this range in init_stars and the recycling block:
star.x = rng.gen_range(-STAR_SPREAD..STAR_SPREAD);
This makes the field feel deeper and less bunched.
2. Increase Density and Speed
In main(), bump the count to 650 and the speed range in init_stars to 0.012..0.032.
3. Center the Title
Use measure_text to center the title perfectly:
let title_size = 84.0;
let title_metrics = measure_text(TITLE_TEXT, None, title_size as u16, 1.0);
let title_x = center_x - title_metrics.width * 0.5;
let title_y = center_y - title_metrics.height * 0.5;
draw_text(TITLE_TEXT, title_x, title_y, title_size, title_color);
Final Optimized Code
use ::rand::rngs::SmallRng;
use ::rand::{Rng, SeedableRng};
use macroquad::prelude::*;

// One star in 3D space, plus a few values for motion and brightness.
struct Star {
    x: f32,
    y: f32,
    z: f32,
    speed: f32,
    brightness: f32,
}

const STAR_DEPTH: f32 = 32.0;
const STAR_SPREAD: f32 = 20.0;
const TITLE_TEXT: &str = "RUST // WASM";

fn init_stars(count: usize) -> Vec<Star> {
    // Fixed seed so the initial field is repeatable while developing.
    let mut rng = SmallRng::seed_from_u64(0);
    (0..count)
        .map(|_| Star {
            // Spread stars across a wider 3D volume so the field fills the screen.
            x: rng.gen_range(-STAR_SPREAD..STAR_SPREAD),
            y: rng.gen_range(-STAR_SPREAD..STAR_SPREAD),
            z: rng.gen_range(1.0..STAR_DEPTH),
            speed: rng.gen_range(0.012..0.032),
            brightness: rng.gen_range(0.6..1.0),
        })
        .collect()
}

#[macroquad::main("Starfield")]
async fn main() {
    // Create the initial field once at startup.
    let mut stars = init_stars(650);
    // Time-based seed so recycled stars re-enter less predictably.
    let mut rng = SmallRng::seed_from_u64(macroquad::miniquad::date::now() as u64);

    loop {
        // Recompute dimensions every frame so the effect stays centered.
        let screen_w = screen_width();
        let screen_h = screen_height();
        let center_x = screen_w * 0.5;
        let center_y = screen_h * 0.5;
        let time = get_time() as f32;

        // Paint the background before drawing the stars on top.
        clear_background(Color::from_rgba(3, 4, 10, 255));
        draw_rectangle(
            0.0,
            0.0,
            screen_w,
            screen_h,
            Color::from_rgba(18, 10, 36, 90),
        );

        for star in stars.iter_mut() {
            // 1. Move the star forward along the Z-axis
            star.z -= star.speed;

            // 2. Recycle the star if it gets too close to the "windshield"
            if star.z < 0.2 {
                star.z = STAR_DEPTH;
                // Respawn across the full width of the field, not just the center.
                star.x = rng.gen_range(-STAR_SPREAD..STAR_SPREAD);
                star.y = rng.gen_range(-STAR_SPREAD..STAR_SPREAD);
            }

            // 3. Project to 2D screen: dividing by 'z' is the key.
            let sx = (star.x / star.z) * screen_w * 0.5 + center_x;
            let sy = (star.y / star.z) * screen_h * 0.5 + center_y;

            // 4. Scale size and brightness based on depth
            let depth_factor = 1.0 - (star.z / STAR_DEPTH);
            let size = 1.0 + 2.0 * depth_factor;
            let brightness = star.brightness * depth_factor;

            // Draw brighter, larger stars as they get closer to the camera.
            draw_circle(
                sx,
                sy,
                size,
                Color::new(brightness, brightness, brightness, 1.0),
            );
        }

        // Smoothly oscillate between 0.0 and 1.0 for the title pulse
        let pulse = 0.5 + 0.5 * (time * 2.0).sin();
        let title_color = Color::new(0.5 + 0.5 * pulse, 0.8, 1.0, 1.0);
        let title_size = 84.0;
        let title_metrics = measure_text(TITLE_TEXT, None, title_size as u16, 1.0);
        let title_x = center_x - title_metrics.width * 0.5;
        let title_y = center_y - title_metrics.height * 0.5;
        draw_text(TITLE_TEXT, title_x, title_y, title_size, title_color);

        // Present the current frame, then continue the loop
        next_frame().await;
    }
}
What's Next?
We’ve built the universe; now we just need a way to pay for the fuel.
The obvious next step is to make the effect more physical: star trails, camera drift, or mouse input. But even in this stripped-down form, the core lesson holds up: if you want a visual Rust project that feels rewarding quickly.